Run OpenStep 4.2 Intel
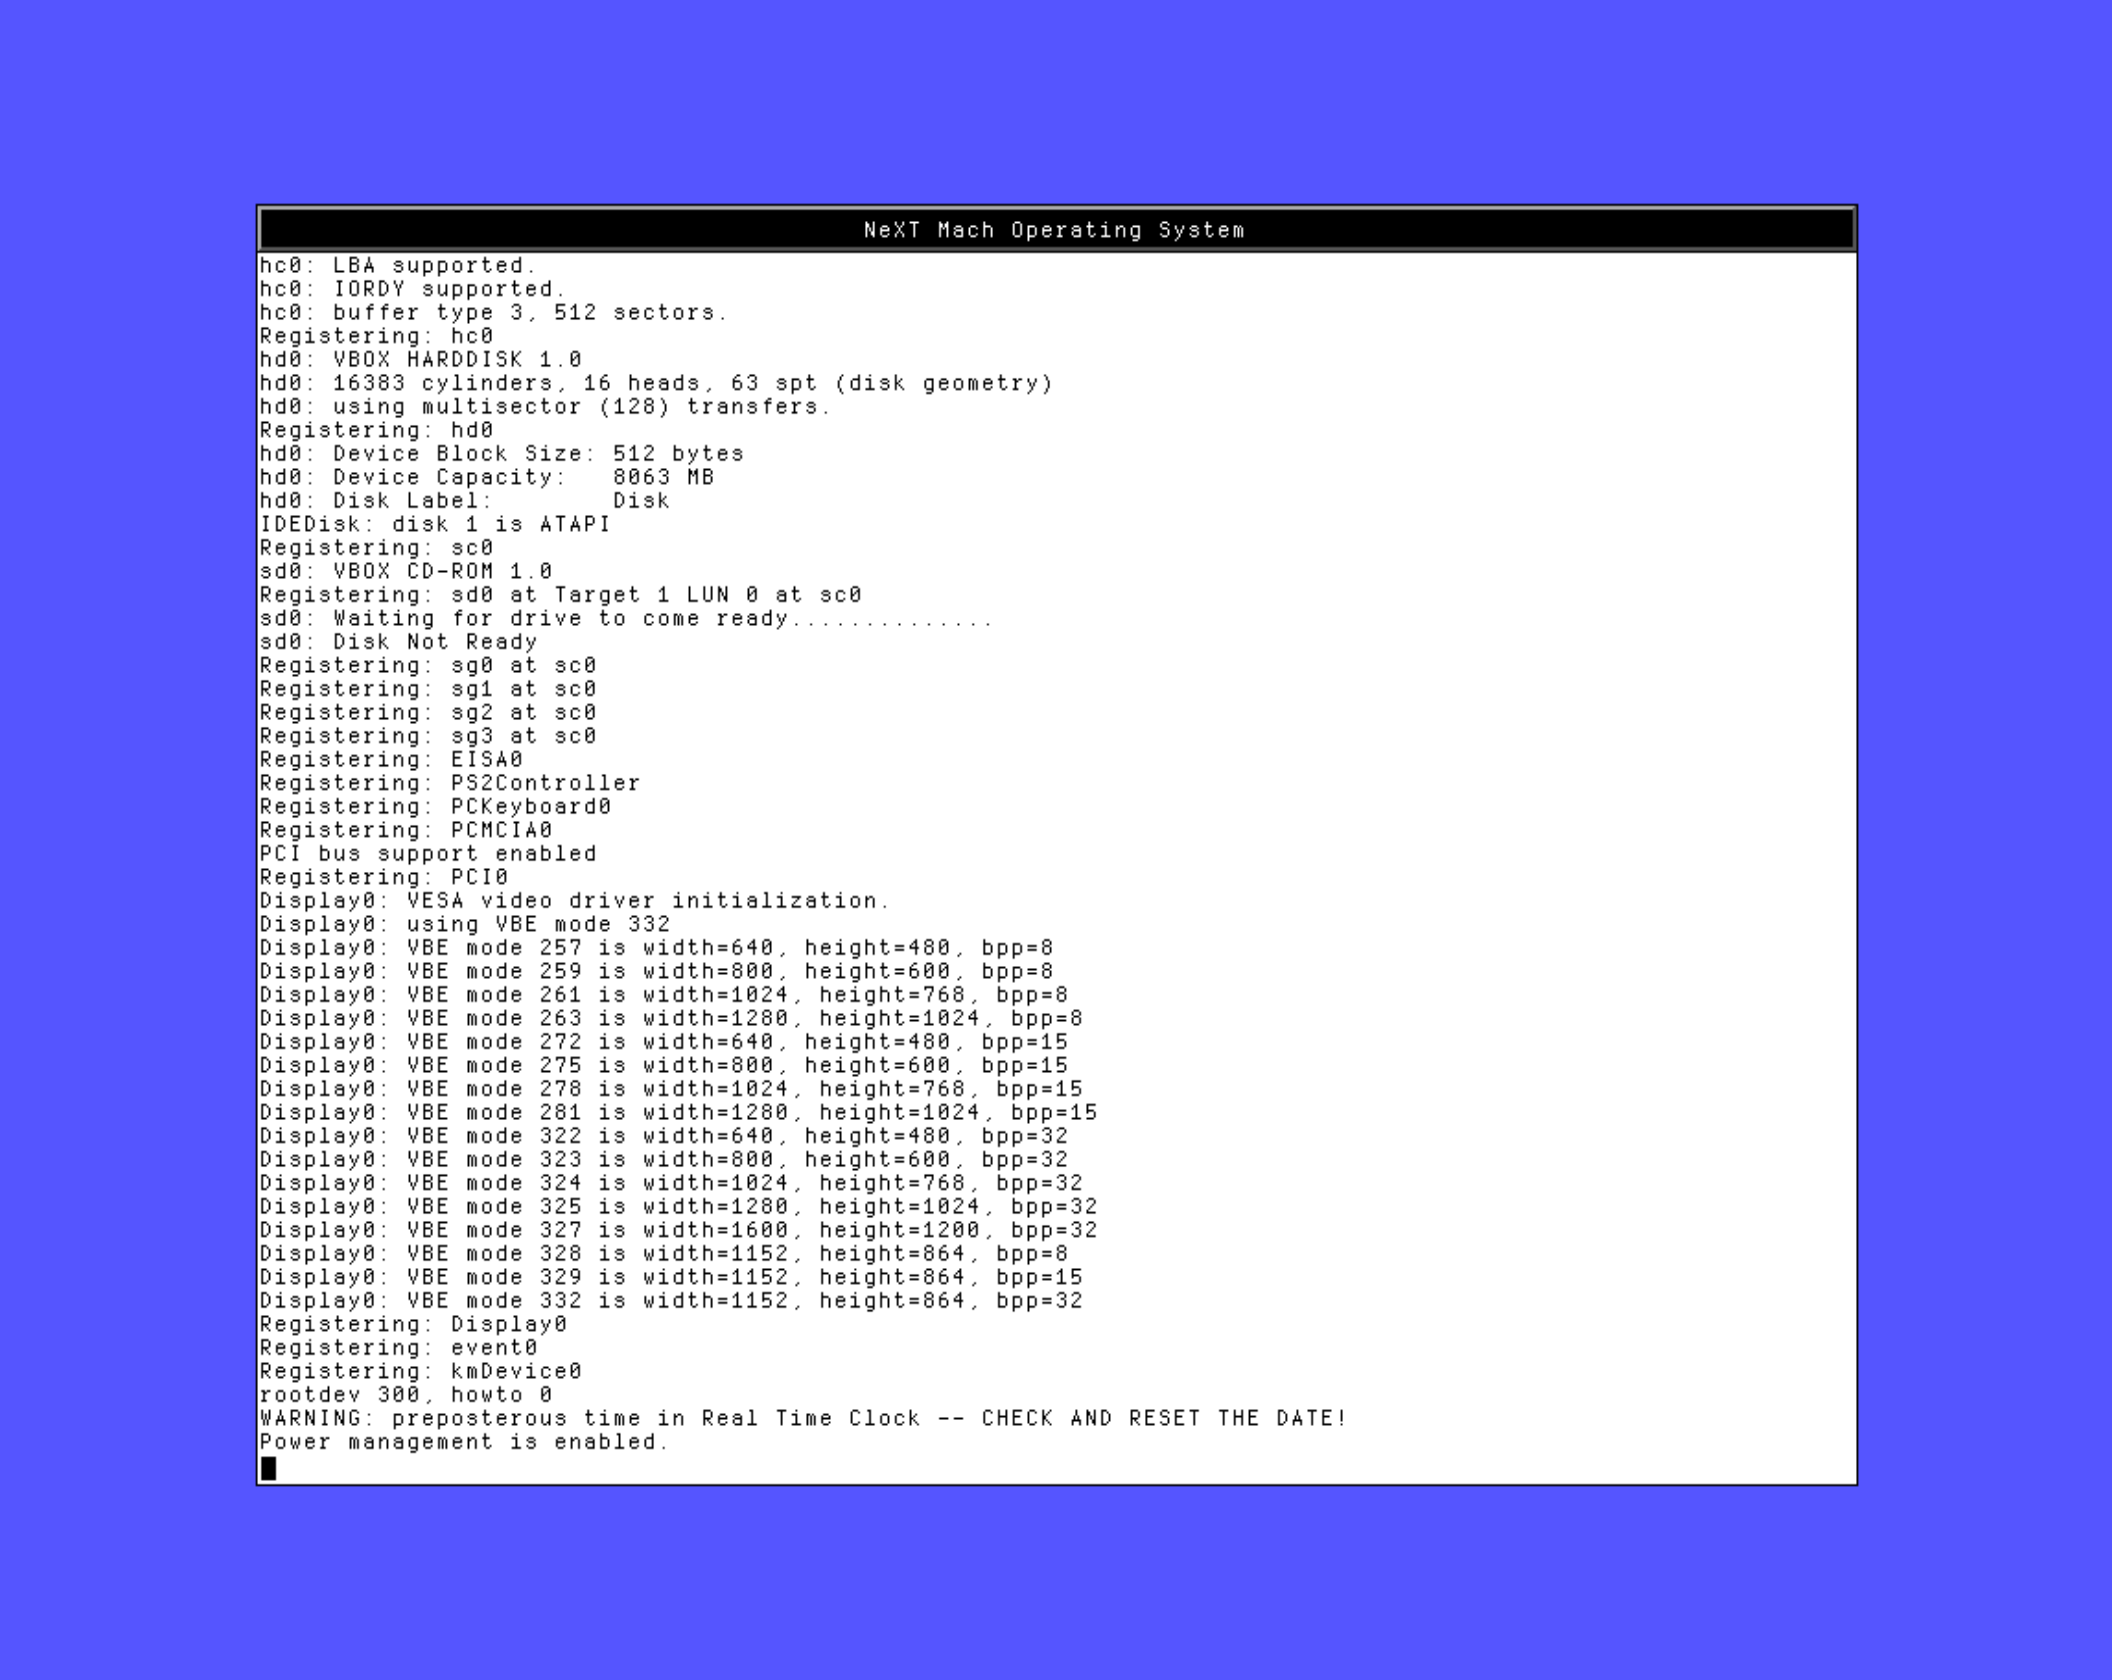 OpenStep initial boot screen displaying the most hilarious, but useful warning message: WARNING: preposterous time in Real Time Clock — CHECK AND RESET THE DATE!
This post represents my notes for emulating a classic retro 90s operating system on an Intel Mac with VirtualBox.
VirtualBox
It has been possible for some time to operate OpenStep for Intel in a VirtualBox VM on an Intel system under Linux, macOS, or Windows.
Prerequisites
- Intel based host system
- VirtualBox
- Software
- OPENSTEP 4.2 User for Intel (ISO 488MB, direct link)
- OPENSTEP 4.2 Developer for Intel (ISO 448MB, direct link)
- Install floppy image (Disk image 1.5MB, direct link)
- Drivers floppy image (Disk image 1.5MB, direct link)
- Beta drivers floppy image 1 (Disk image 1.5MB, direct link)
- Beta drivers floppy image 2 (Disk image 1.5MB, direct link)
- NE2K network driver (Disk image 1.5MB, direct link)
VirtualBox VM configuration
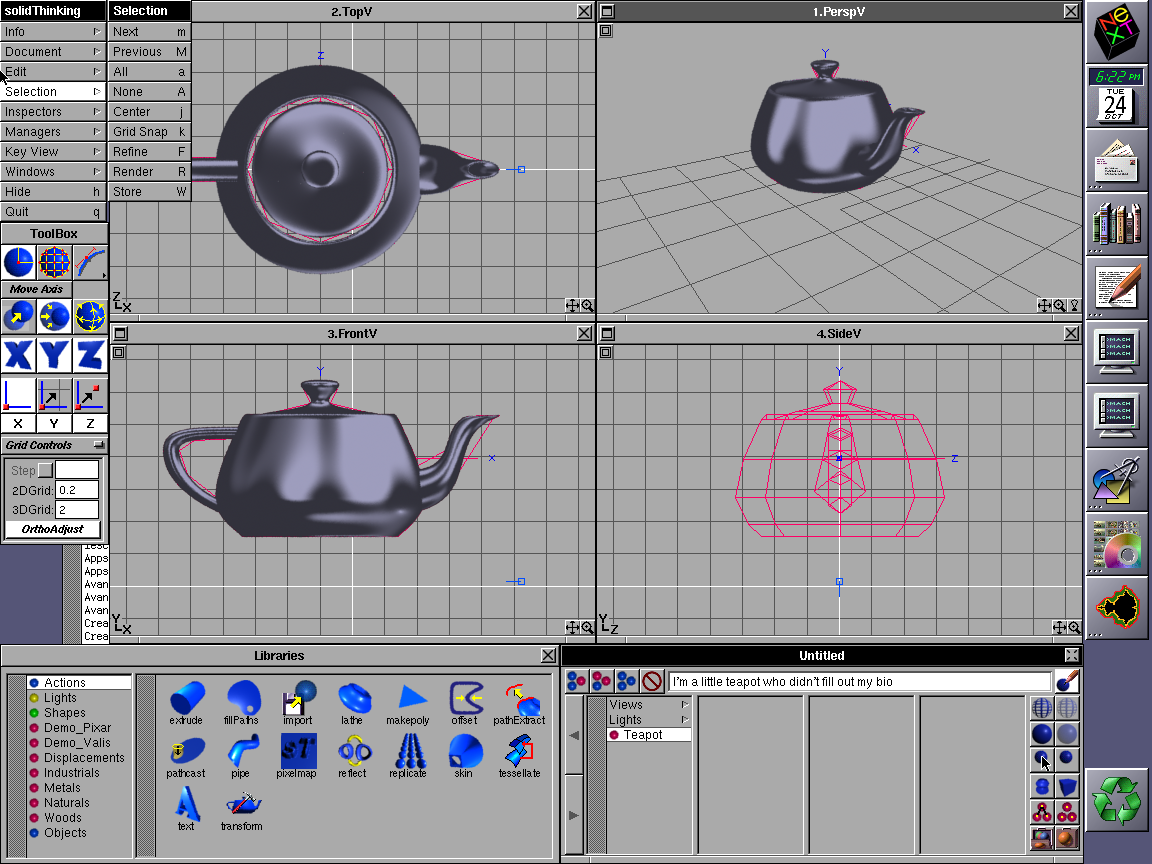 solidThinking 3D software
Create a new VM in VirtualBox.
- Name the VM (i.e. OpenStep 4.2).
- Type: Other, Other/Unknown.
- RAM: 512MB is max supported without kernel flag.
- Create a virtual hard disk: VDI dynamically allocated 4GB. (Don’t make a partition larger than 4096MB. You can make a 8063MB partition and install to it, but soon after you write over the 4GB barrier, it will wrap around and clobber the first 4GB of the partition, rendering the system unusable.)
- Create the VM.
Fine-tune the VM hardware settings and support.
- System: Base memory: 512MB, Boot order: FDD, optical, HDD, Acceleration: nested paging, Hyper-V paravirtualization
- Display: Video memory: 64MB, graphics controller: VMSVGA, Acceleration: 3D, Remote desktop server: Disabled, Recording: Disabled
- Storage: Controller: IDE: IDE Primary Device 0: VDI HDD, IDE primary device 1: Optical Drive, Controller: Floppy: Floppy device 0: FDD image (changes as needed)
- Audio: Host driver: Default, Controller: ICH AC97
- Network: Adapter 1: PCnet-PCI II (NAT)
- USB: Disabled
Prepare installation media
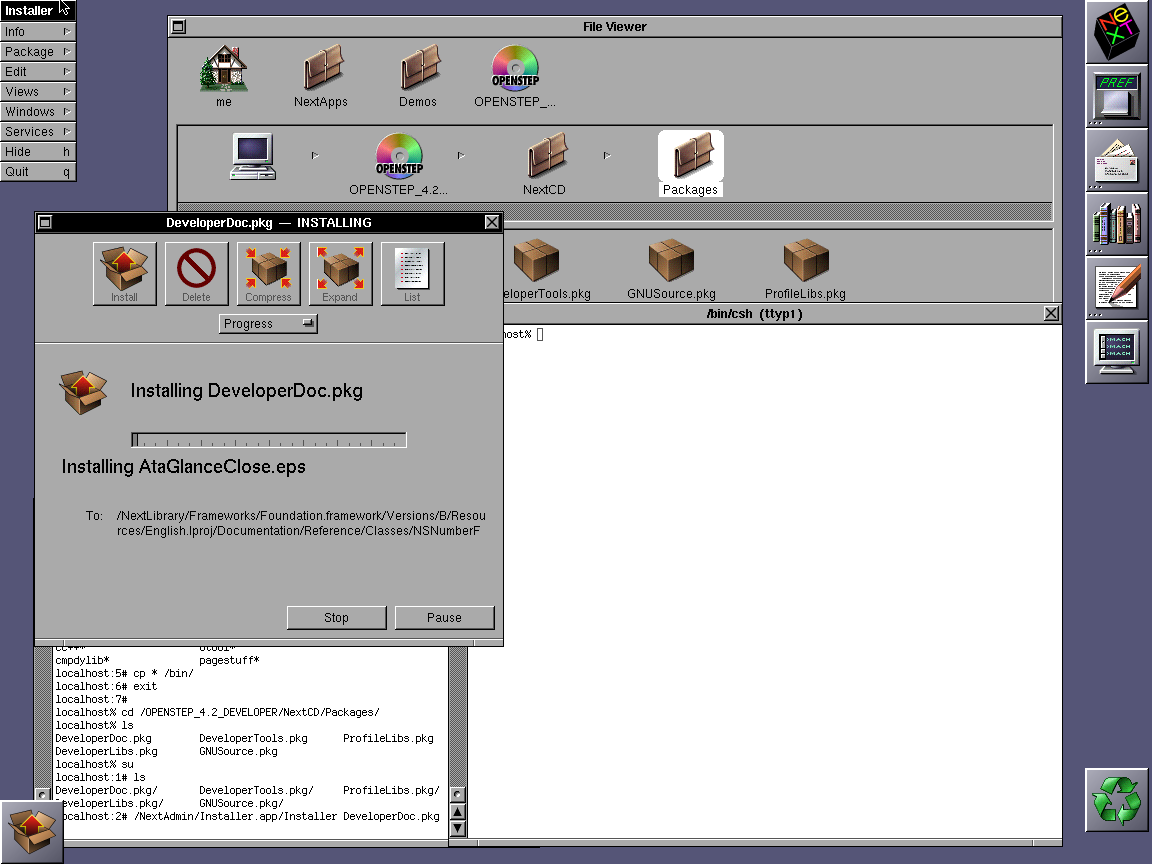 If you ever get the chance to install some developer documentation, the dialog will resemble this one.
-
Unzip the install floppy image and rename the file to
4.2\_Install\_Disk.imgto use it with VirtualBox. -
Unzip the drivers floppy image and rename the file to
4.2\_Custom\_Driver\_Disk.img. -
The CDROM image to use is
Openstep-4.2-Intel-User.iso.NOTE: You cannot install with
Openstep-4.2-Intel-Developer.iso; you use this image later to add developer tools to an existing installation.
Start installation
- In the VM, click Storage to attach CDROM image and FDD disk.
- Click the CDROM icon, and then click the same icon on the right side.
- Click Choose a disk file…
- Navigate to the
OpenStep-4.2-Intel-User.isofile, click it, and then click Open. - Click Add Controller in the left pane.
- Click Floppy.
- Click Controller: Floppy.
- Click Add Attachment.
- Navigate to the
4.2\_Install\_Disk.imgfile, click it, and then click Open.
Notes for after the installation
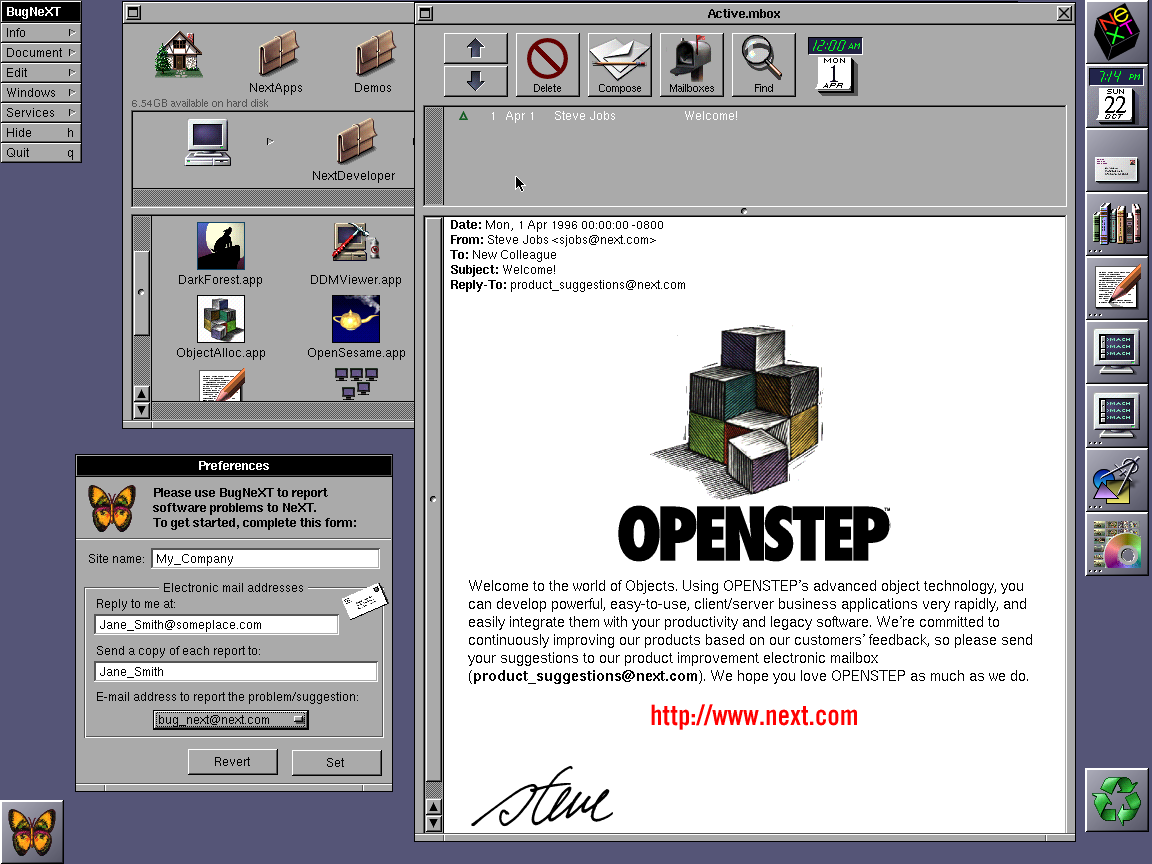 Everyone who installs OpenStep (or NexTStep) and opens the Mail app gets a greeting email from Steve Jobs, authored on April 1, 1996.
- Disk: DO NOT create a disk larger than 4GB. The OS will use an 8GB disk for example, and you can initialize + install to the image. The problem arises when the OS reaches the 4GB barrier. The OS will actually wrap to the beginning of the disk, and overwrite what is there, breaking your shiny new OpenStep system in the process.
- Memory: You can increase the available memory to 958MB (a value close to the actual limit) in two ways. First increase memory to 958MB in the VirtualBox VM.
- Then either add
maxmem=980992at the OpenStep boot prompt (you must repeat this for every boot). - Or, open Configure.app and select the first tab. Click on Expert, then Add. Enter the value
maxmem=980992in the Kernel Flags field. Click OK. Click Save.
- Then either add
Random notes
Create ISO images to mount as CD-ROMs in macOS.
-
Open Diskutil, and choose new image from folder.
-
Image format: DVD/CD master.
-
Save .cdr file.
-
Convert .cdr file to ISO file:
hdiutil makehybrid -iso -joliet -o file.iso file.cdr
QEMU / UTM
WORK IN PROGRESS
UTM is a graphical tool for emulation on macOS. It uses QEMU under the hood, and so running NeXTSTEP or OPENSTEP in it should be possible.
Prerequisites
- Apple Silicon or Intel based host system
- UTM
- Software
- OPENSTEP 4.2 User for Intel
- OPENSTEP 4.2 Developer for Intel
- Install floppy image
- Drivers floppy image
- Network driver plus patch 4 bundle
UTM VM configuration
Create a VM in UTM with this configuration.
Installation
- For CD-ROM: Choose 7 7 5 → Primary/Secondary (Dual) EIDE/ATAPI Device Controller (v4.03)
- For HDD: Choose 7 7 2 → Intel PIIX PCI EIDE/ATAPI Device Controller (v4.03) (Dev:1 Func:1 Bus:0)
Resources
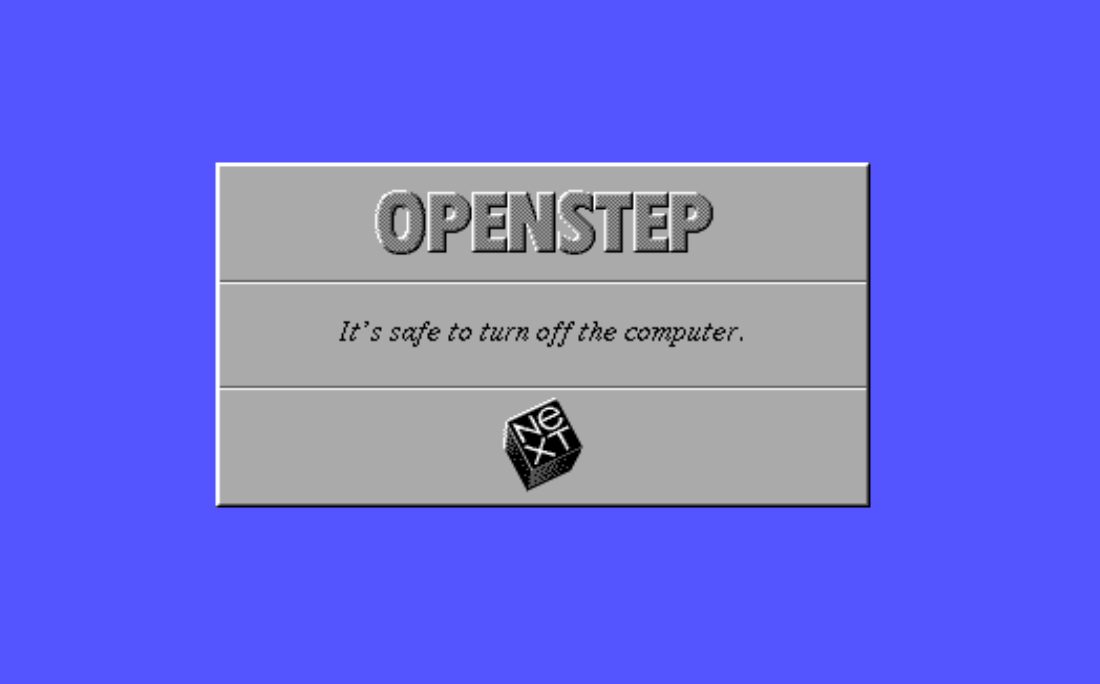 It’s safe to turn off the computer.