Docker VAXen
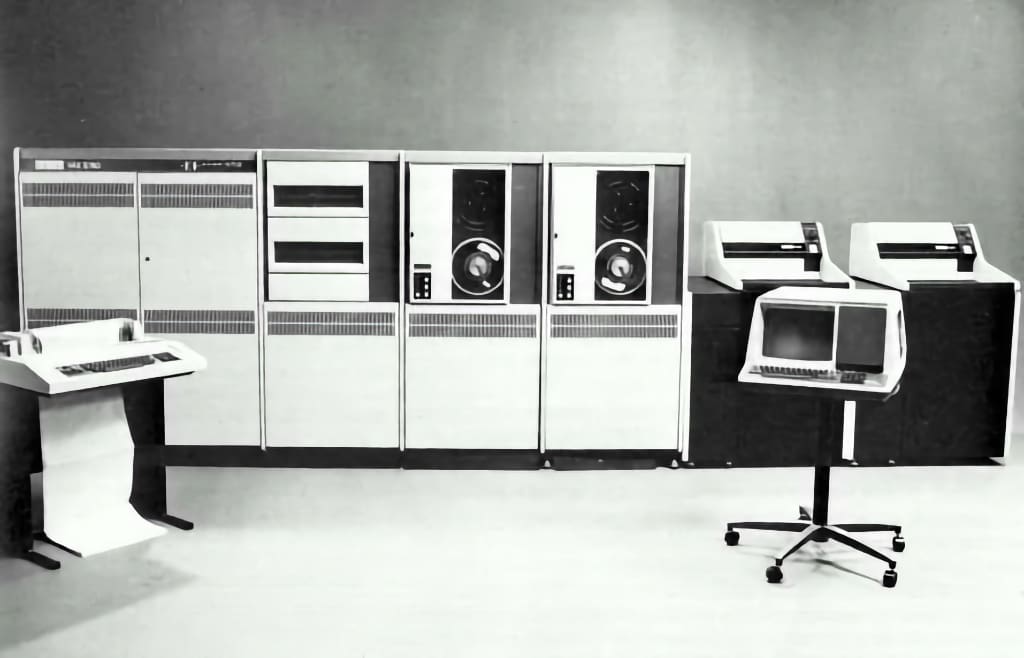 DEC VAX 11-780
Back in the day, Digital Equipment Corporation (DEC) produced a range of powerful and versatile minicomputers, microcomputers, and workstations, including the VAX series.
Today, we can still emulate these historical machines using software, like the Open SIMH Framework. In this article, I’ll show you how to emulate a DEC VAX 8000 series minicomputer on macOS with Docker.
Prerequisites
- macOS 15 or later
- Docker installed
- OpenVMS/VAX 7.2 Hobbyist Edition Version 2.0 ISO
Configure your VAX
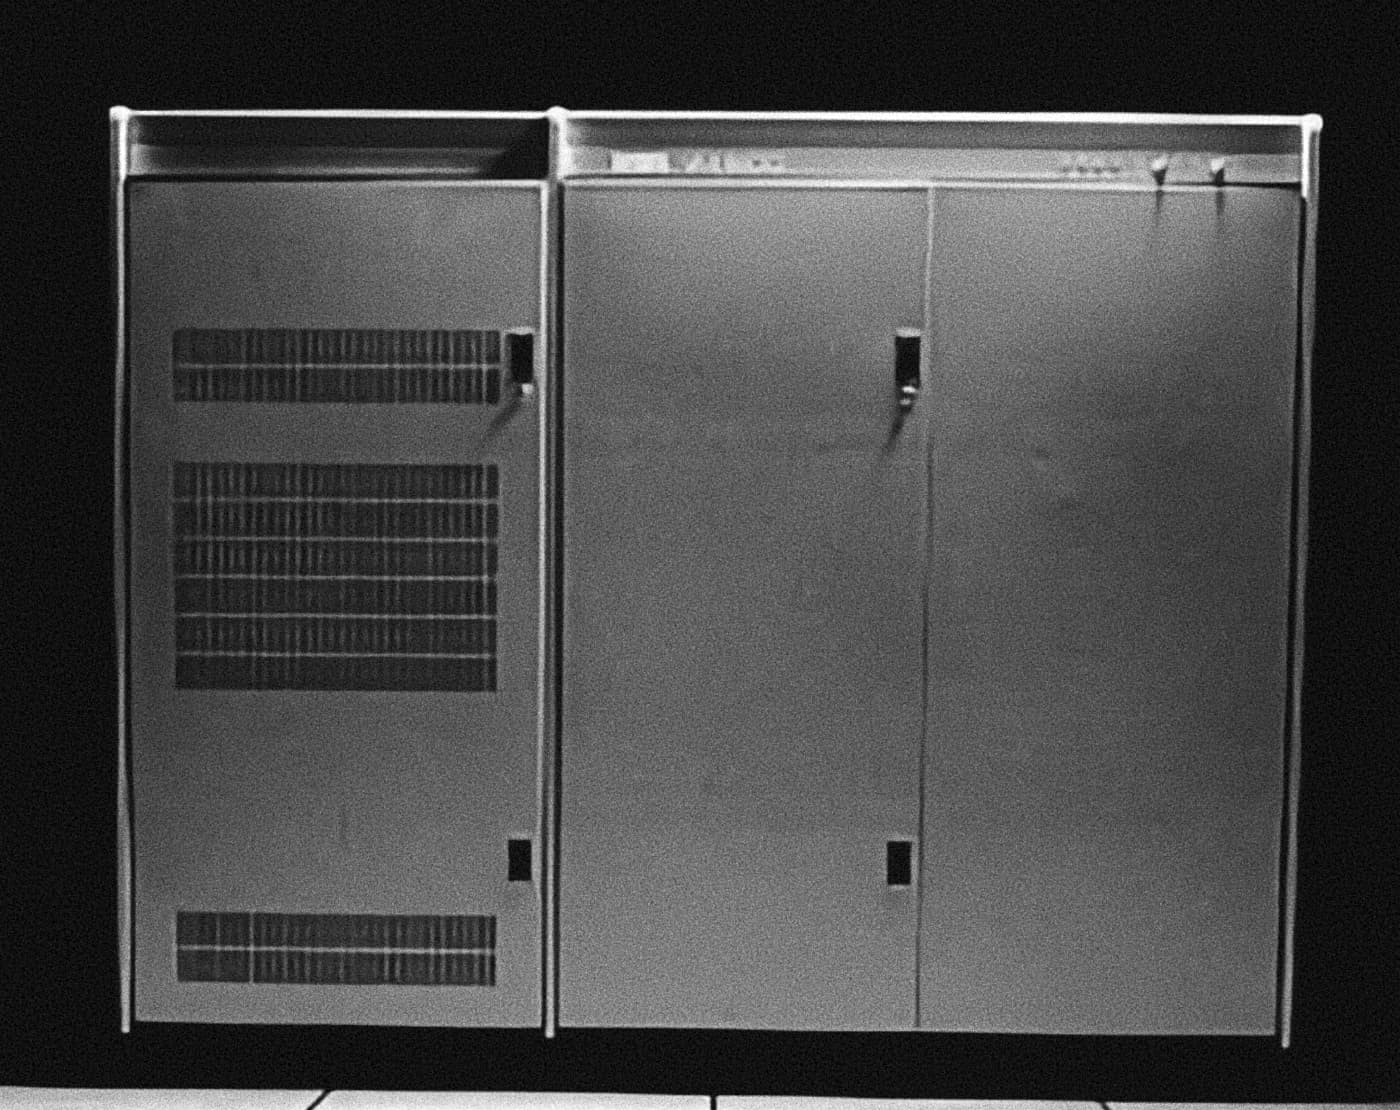 DEC VAX 8600
Clone my Docker VAXen project.
git clone https://github.com/brianshumate/docker-vaxen.gitChange into the project directory.
cd docker-vaxenIMPORTANT: Grab the OpenVMS 7.2 ISO, and place it in the
Boot your VAX
docker compose run --rm vax8600Install OpenVMS VAX 7.2
The following serves as a brief guide to installing OpenVMS VAX 7.2 on the emulated VAX 8650. Check the Resources section for other more qualified documentation.
-
At the
sim> prompt, boot from the CD-ROM to start the installation process.boot rq3 -
The system prompts you to enter the current date and time. Enter the date and time in the format
DD-MMM-YYYY HH:MM , a somewhat non-intuitive format where the month gets abbreviated to three letters. For example,01-JAN-2023 12:00 .PLEASE ENTER DATE AND TIME (DD-MMM-YYYY HH:MM) 15-NOV-2025 16:19After you enter the date and time, the system begins configuring devices.
-
Eventually a device list like this example appears, along with a prompt to enter yes when the list appears:
Available device  DUA0:                            device type RA92
Available device  DUA1:                            device type RD54
Available device  DUA2:                            device type RD54
Available device  DUA3:                            device type RRD40
Available device  MTA0:                            device type TE16
Available device  MTA1:                            device type TE16
Available device  MTA2:                            device type TE16
Available device  MTA3:                            device type TE16
Available device  MTA4:                            device type TE16
Available device  MTA5:                            device type TE16
Available device  MTA6:                            device type TE16
Available device  MTA7:                            device type TE16

Enter "YES" when all needed devices are available:
Enter
yes to continue. -
The system enters backup mode with a prompt like this example:
%BACKUP-I-IDENT, Stand-alone BACKUP T7.2; the date is 15-NOV-2025 15:51:55.73Enter the following command to restore the VAX/VMS image from the CDROM to the disk:
backup dua3:vms072.b/save_set dua0:After restoration, the system prompts you to restore more images. You can stop the whole emulation/simulation session at this point by pressing
CTRL+E . -
At the
sim> prompt, boot from the disk instead of the CDROM:boot rq0 -
Now you should notice a nice banner with OS and system details, and once again the system prompts you for the date and time. Enter the current date and time when prompted.
%SYSBOOT-I-SYSBOOT Mapping the SYSDUMP.DMP on the System Disk
%SYSBOOT-W-SYSBOOT Can not map SYSDUMP.DMP on the System Disk
%SYSBOOT-I-SYSBOOT Mapping PAGEFILE.SYS on the System Disk
%SYSBOOT-I-SYSBOOT SAVEDUMP parameter not set to protect the PAGEFILE.SYS
   OpenVMS (TM) VAX Version BI72-72T Major version id = 1 Minor version id = 0


           OpenVMS VAX V7.2 Installation Procedure

                         Model: VAX 8650
                 System device: RA92 - _DUA0:
                   Free Blocks: 2862468
                      CPU type: 04-00


* Please enter the date and time (DD-MMM-YYYY HH:MM) 15-NOV-2025 16:01
After you enter the date and time, the system continues to boot.
-
The system prompts you for a disk label for the hard disk. The common practice is to choose a short name and append
SYS to it. For example, if you chooseVAX8650 , the disk label would beVAX8650SYS . -
The system prompts you for the disk with the installation media.
Enter
dua3 and press return. -
The system asks if the media is ready.
Enter
yes and press return. -
The system presents the list of software to install.
%MOUNT-I-MOUNTED, VAXVMS072 mounted on _DUA3: Select optional software you want to install. You can install one or more of the following OpenVMS or DECwindows components: o OpenVMS library - 52200 blocks o OpenVMS optional - 19000 blocks o OpenVMS Help Message - 10400 blocks o OpenVMS Management Station - 20000 blocks o DECwindows base support - 4400 blocks o DECwindows workstation support - 23800 blocks - 75 dots per inch video fonts - (included) - 100 dots per inch video fonts - 6200 blocks o DECnet-Plus networking - 80000 blocks o DECnet Phase IV networking - 800 blocks Space remaining on system disk: 2862189 blocks-
The system asks if you want to install the OpenVMS library files. Answer with
y and press return. -
The system asks if you want to install the OpenVMS optional files. Answer with
y and press return. -
The system asks if you want to install the MSGHLP database. Answer with
y and press return. -
The system will ask for a location to install the MSGHLP database. Press return to accept the default location.
-
The system will ask if you want to install DECwindows base support. Answer with
y and press return. -
The system will ask if you want to install DECwindows workstation support. Answer with
y and press return. -
The system will ask if you want to install 100 dots per inch video fonts. Answer with
y and press return. -
The system will ask if you want to install DECnet-Plus. NOTE: DECnet-Plus is no longer available in the hobbyist edition of OpenVMS. You can use CMU TCP/IP instead. Answer with
n and press return. -
The system will ask if you want to install DECnet Phase IV. Answer with
n and press return. -
The system will ask if your selections are correct. Answer with
y and press return.
-
-
Now it’s time for you to set passwords on the important accounts:
- SYSTEM: the “root” of VMS
- SYSTEST: the debugging account
- FIELD: the system maintenance account
Enter and confirm passwords for each account.
-
The system prompts you for the SCSNODE name. You can enter a meaningful hostname-like value here. The name must be 6 or fewer alphanumeric characters with at least one alphabetic character.
-
The system prompts you for the SCSSYSTEMID. This is a numeric value that identifies your system. It must be an integer between 1025 and 65535.
-
The system prompts for your location. Choose the appropriate number for the location you want and confirm your selection by pressing
return . -
Choose your time zone and confirm your selection by pressing
return . -
If you are in daylight savings time, choose the appropriate option and confirm your selection by pressing
return . Confirm your values are correct by pressingY .
The system now restarts, and becomes available for use.
Welcome to OpenVMS (TM) VAX Operating System, Version V7.2

Username:
After using the system, you can log out by typing
You can shut down the system by typing
Stay tuned for a follow-up post on how to configure and use the system.
Resources
- OpenVMS VAX Version7.3 Upgrade and Installation Manual
- open-simh code
- VAX Simulator (SimH) tutorial by OpenVMS Hobby
- OpenVMS on a Raspberry Pi
- Installing VMS in SIMH on Linux
- OpenVMS VAX Version 7.1 Upgrade and Installation Manual
- VaxHaven CD image archive
- How To Build A Base VAX-VMS System With Little Or No Prior Experience